Fast and easy way to touch up your roots between colourings, in 10 minutes. Blends with any permanent haircolour brand.
Our patented formula blends with any permanent haircolour brand and provides natural-looking, impeccable results. To choose your shade, refer to the colour chart on the side of the box.
I don't know if I already talked about this on my blog but I like to have a backup of hair dyes in my closet. The reason why is that I hate to have to rush to the drugstore to have to pay full-price for a box of hair dye when I really have to do my hair - which rarely happens because I don't really mind my roots - and I like to collect coupons and combine them with sales, which scores me pretty good deals.
Think about it - an average box of hair dye costs around $10, not multiply this by 12 months (if you dye your hair once a month, like me) and there you have it: $120. It adds up pretty quickly, huh? You don't have to pay that - that's when coupons and sales come in handy!
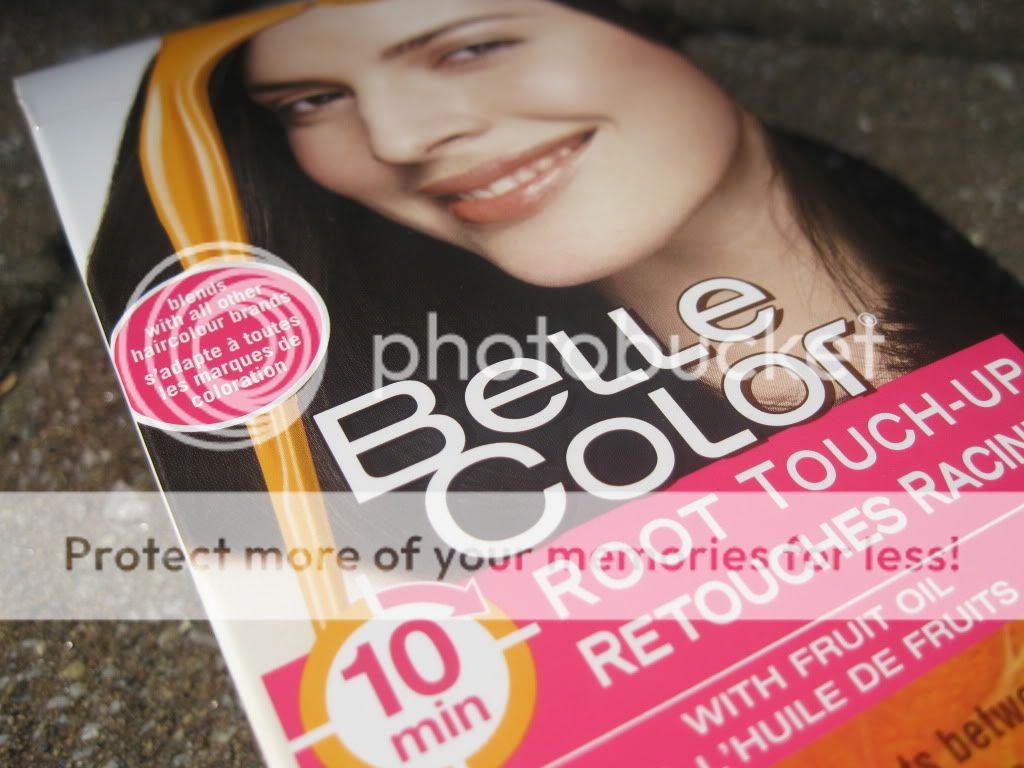
I think I went a little crazy with all those coupons and sales though. Yes my HG hair dye may be Clairol Nice 'n Easy, but hey, how could I not pick up that box of Garnier Belle Color Root Touch-Up that is on sale for $3? I just can't stop experimenting with hair colors and the results is that I currently have 6 boxes hidden in my closet and I need to use them before I turn to cruelty-free alternatives.
I haven't used root touch-up kits very often because I was always afraid I would end up with lighter roots and darker hair, but I must say I'm incredibly impressed with this one.
I chose the shade R2 which is said to blend with all darkest browns to blacks. Because I purchased this hair dye such a long time ago, I can't remember the choice of shade, but if I look up the Garnier website, this range doesn't seem to exist! I do see the Belle Color ColorEase Crème but not the root touch-up kits... maybe it has been discontinued?
This kit is perfect for you if you are currently wearing one of the following shades:

Bascially, all darkest browns to blacks shades
In these type of kits, you get a smaller quantity of product, as it's designed to be applied only at the roots - it is not recommended to apply the dye to hair that have already been dyed.

The Precision-Colour brush did require some getting used at first me because I usually use only my hands when I dye my hair, but I actually really enjoyed it, it makes things much more easier. I have even washed it and I plan to re-use it the next time I do my hair.

The instructions are slightly different from regular hair dye
My main problem with hair dye is finding a dark brown that looks very dark - almost black - and that won't fade. My wish was granted with Clairol Nice 'n Easy hair colors but I still have hopes to find something similar with other hair dyes. I was amazed at the results with this one!

The last time I dyed my hair, I used L'Oréal Féria Multi-Faceted Shimmering Color in 40 Espresso (Natural Deeply Brown) which is the darkest brown I could find in this collection, but still, it didn't turn out to be as dark as I would have liked it to be. In fact, after a few washes, my blonde roots were already peeking through...?! Look at the difference!
Garnier Belle Color Root Touch-Up R2 gave me super dark - almost black - hair, exactly what I was expecting! I really wish I could find a cruelty-free alternative to this root touch-up kit as I do think these types of hair dye are less damaging to the hair because you only do the roots. Any suggestions ladies?
* Product tested on animals. You may (or may not) be aware that Gaby's Beauty Blog recently went cruelty-free. However, I hope it's understandable that I can't simply throw away the products I have previously purchased that have unfortunately been tested on animals - believe me, I wouldn't hesitate if I were rich! My goal is to use up those products but not repurchase them in the future. Also, Gaby's Beauty Blog will no longer accept for review purposes products that have been tested on animals.


